[CO] CSV - Credit Note Creation
This guide explains how to create one or more credit notes with using the Bulk Upload feature in Brinta.
Step 1 – Select Bulk Upload and Country and Prepare CSV
Create the csv file following the instructions below:
- Use the official template corresponding to the country from which you are issuing the invoice. The templates are available here or directly on the upload screen.
- Complete the file using one row per item.
- If you need to issue a credit note with multiple items, ensure that all related rows contain the same value in the “Invoice External Id” field. This allows the system to group those rows under a single credit note.
- For all rows belonging to the same invoice, the buyer information and invoice details must be identical. The only fields that should vary between rows are the item-level fields, such as item name, item amount, VAT amount, and any other item-specific data.
- Complete the “Invoice Document Type” column with the value “credit note.”
- If you need to cancel the entire invoice, complete the column "Reason" with value "void."
- If you need to return part of the amount of an item, complete the column "Reason" with value "return."
- If you need to make a discount, complete the column "Reason" with value "discount".
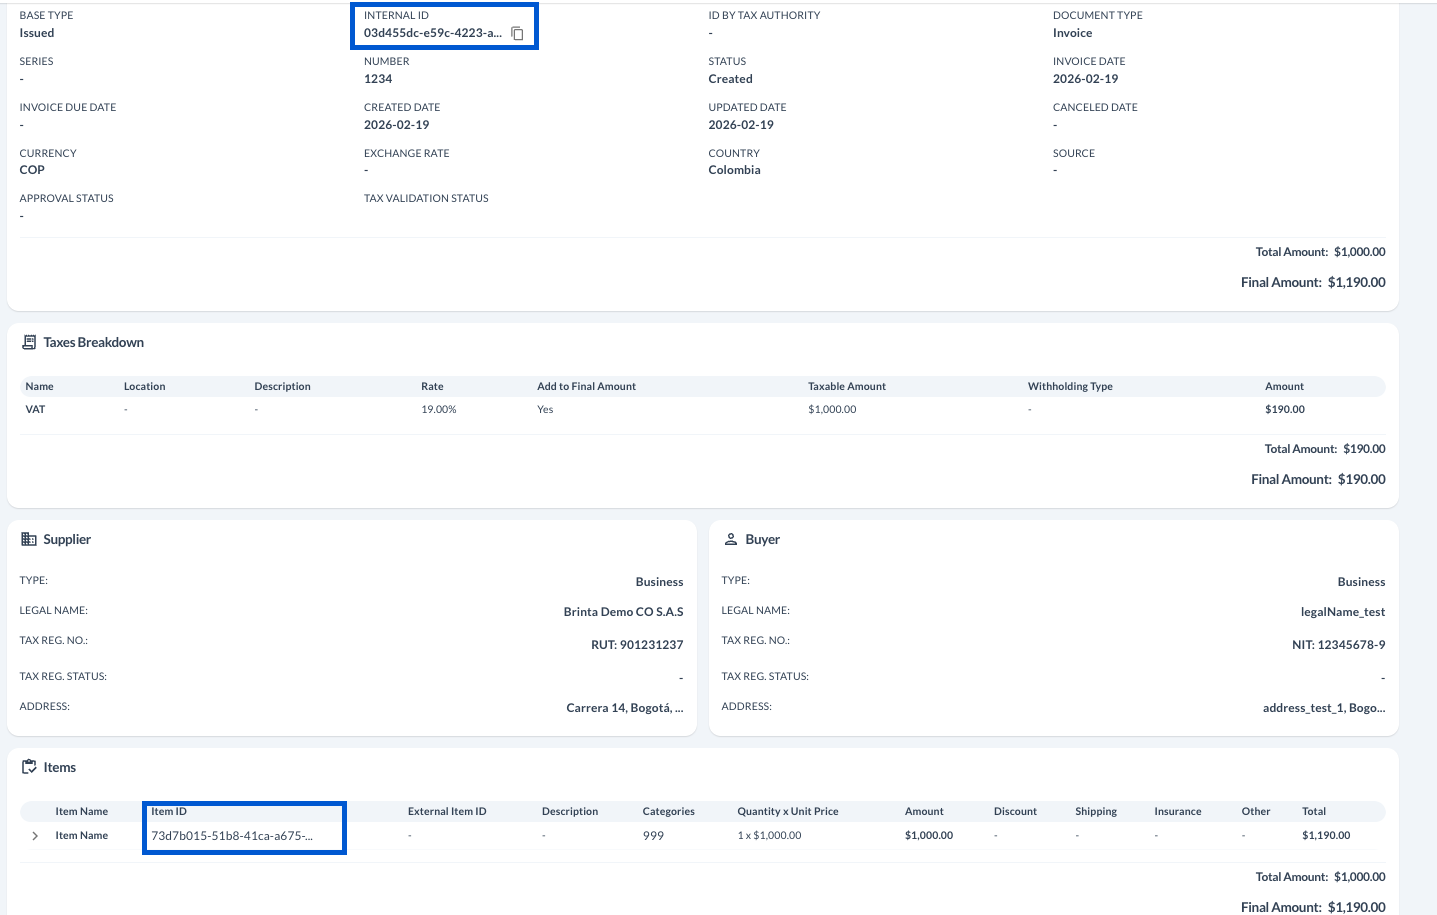
- Link the credit note to Original Invoice
- Complete the field "Original Invoice BRINTA Id" with the BRINTA Id from the invoice you need to modify.
- Complete the field "Original Item Id" with the BRINTA id of the item you need to impact with your credit note.
Step 2 – Access Invoice Creation
- Go to Invoicing → Outgoing
- Click Create Invoice (top-right corner)
Step 3 – Select Bulk Upload and Country
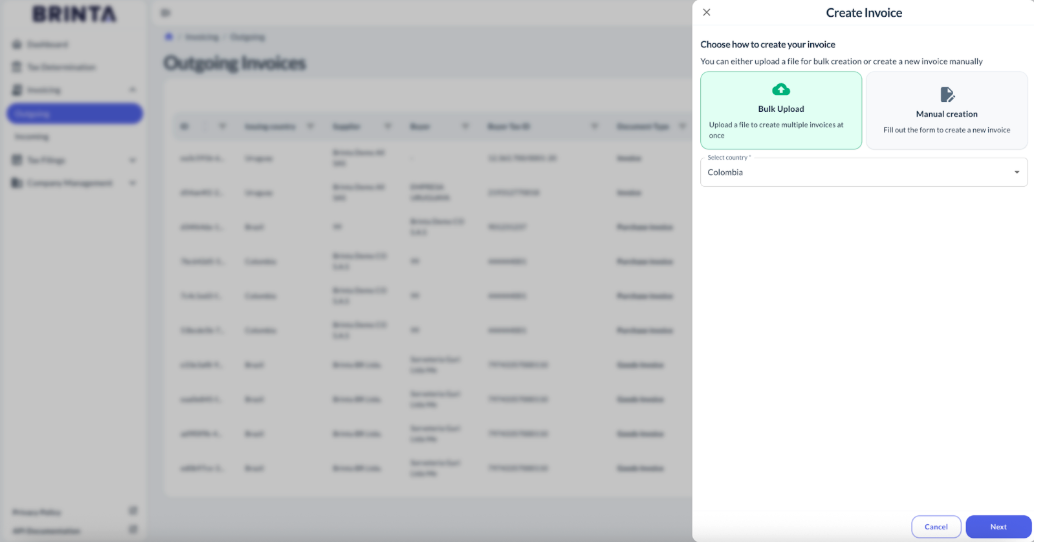
- Select Bulk Upload
- Select Country (Example: Colombia)
- Click Next
⚠️ This step is identical to manual invoice creation, except that Bulk Upload is selected instead of Manual creation.
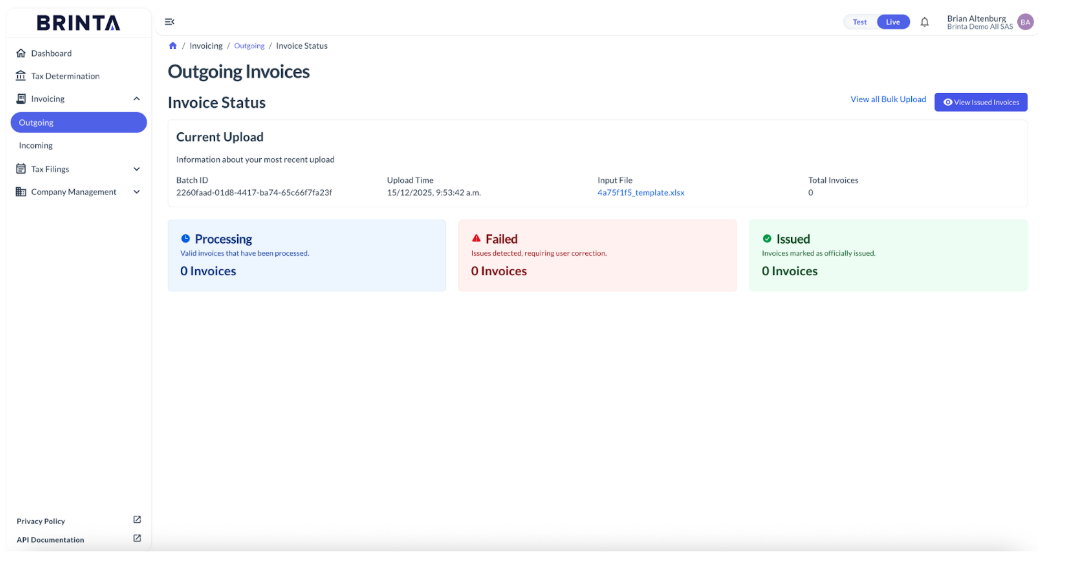
Step 4 – Upload Template File
Updated 5 months ago
Did this page help you?